Pages

Friday, August 24, 2012

How to make a delicious Mocha at home :)

Here is my recipe for my yummy mocha I make at home pretty much every morning:
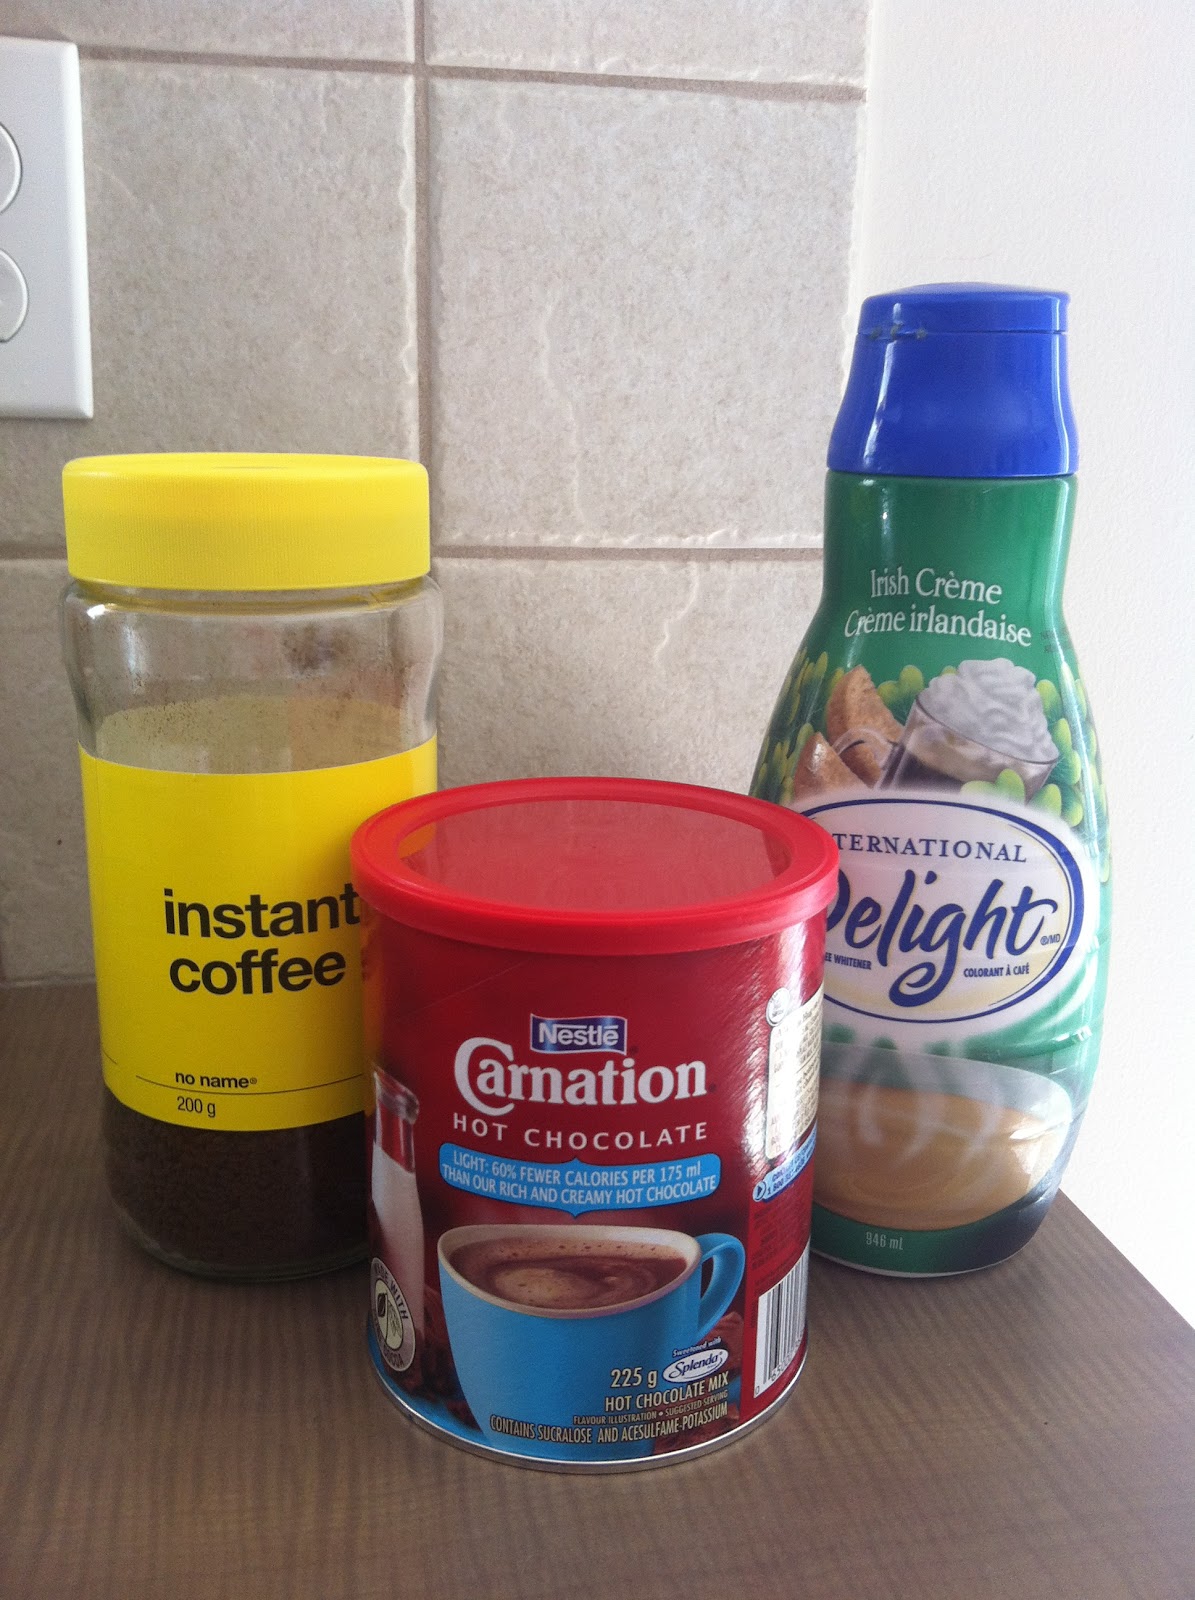
 
 
I use a pretty big cup so the amounts will probably be a little different for everyone but it's very easy to find the amounts you like. :) This is a lot cheaper than going to a coffee place the have a special coffee made for you! I also think it's a lot better because you know everything in it so you wont be taking in LOTS of calories from all the syrups and creams! Here's what I use: 1 tablespoon Instant coffee, 1 1/2 tablespoons low calorie Hot chocolate and 1 tablespoon Irish cream coffee creamer (other flavors are good too!) Hehe if you spill a little more than a tablespoon, that'll work too ;)
 
 
 I keep a spoon in there just so I can mix it up every few sips so it wont settle in the bottom. You might find different amounts you like mixed together, some people like more coffee flavor, others like more hot chocolate. That's what I find fun! My husband actually doesn't like coffee but he loves my mocha's and asks for them most mornings he's home. :)
Try this out and let me know what you think! Hope everyone loves it! :D


Saturday, August 18, 2012

My lil makeup mascot ;)

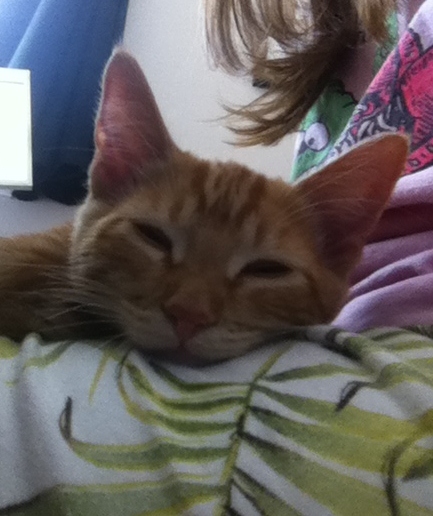
Here is my kitten, Biggie Smalls, he helps me do my makeup every morning and helps me do makeup videos so I thought I should include him in here. :D My other cat, Coco Loco, usually sits on the window sill just to the right of me. Just thought I would share a pic of my lil makeup mascot ;)  I would love to connect with followers more so please let me know what else you would like to see! More smileys to free download

p.s. Hehe I know I'm wearing my pjs but he's just too cute to not put this pic up!


Friday, August 17, 2012

Smokey bright eye look

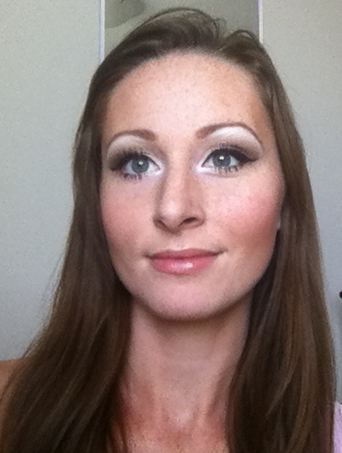
Here's a summery smokey eye look that I think makes your eyes look a lot brighter and a bit more natural too :)


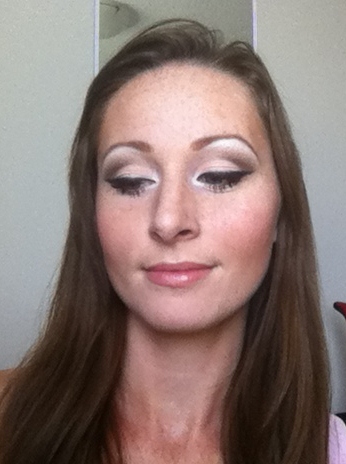
This look is quite easy to do! I just did my usual smokey eye with a warm light cream shade for the medium and a warm brown for the dark but under the eye I put a light golden shimmer. I used a lid primer for the lid before eyeshadow, of course, and also under the shimmer under the eye to make it show up better and stay in place better. Also never forget to put a highlight under your brow and on inner corner of the eyes to really brighten things up! :)
These pictures don't really show the shimmer under my eyes but in different lights it was pretty and shimmery! I will try this kind of look again with different colors and hopefully I can get better lighting!


See how all of the makeup I'm wearing is in warm shades, this helps to tie everything together. If I was wearing a cooler shade blush or lipstick it could look like it clashes and just doesn't match the look. Maybe for some night looks you can mix things up a bit but I think most of the time its best to keep your makeup look in either all cooler shades or all warmer shades. :)


Here's a bigger pic of my eyes so you can see more, sucks that my lashes aren't very visible in these pics with the lighting but lots of lashes always makes eyes look prettier and bigger!


I really hope my followers try this look out love it and I hope newcomers will follow too!


More smileys to free download

Wednesday, August 1, 2012

Eyebrows make such a difference!!

Well I made a post earlier and said I was going on a trip but I thought I could fit in one more post before I leave! :)

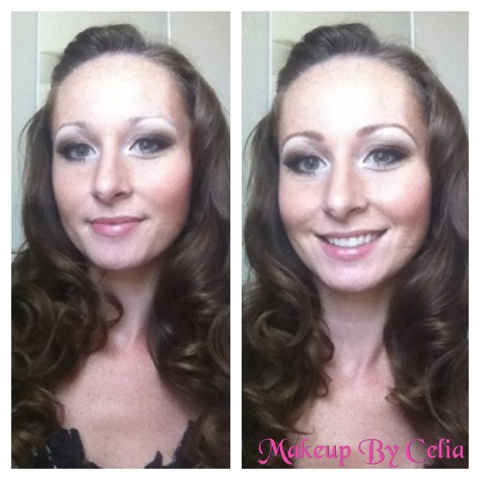
Here is a picture showing how much of a difference eyebrows make. When I was in high school I was always too afraid to try filling in my brows but I'm so glad I finally did! I've actually been filling in and shaping my brows for at least 5 or 6 years now and I never go out without them now! Hehe. Eyebrows really frame the eye and make your eyes stand out so much more.

If you have thin eyebrows I really hope this picture will make you want to try! Please let me know if anyone wants me to do a video on eyebrows! :)

Well here's the before and after pic!

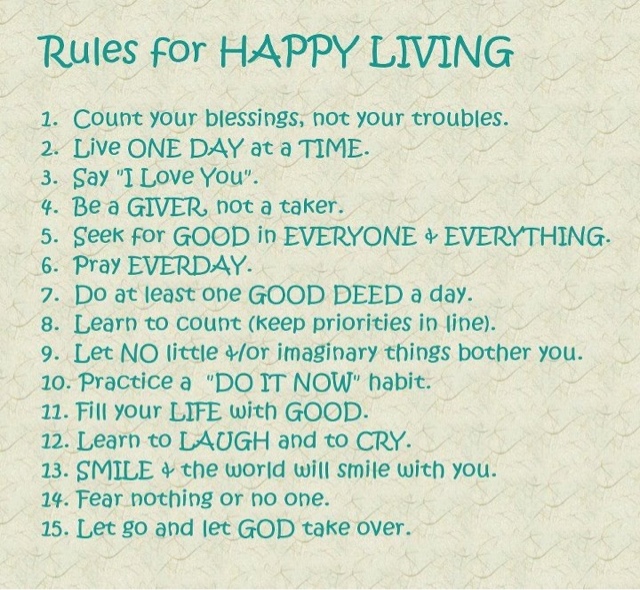
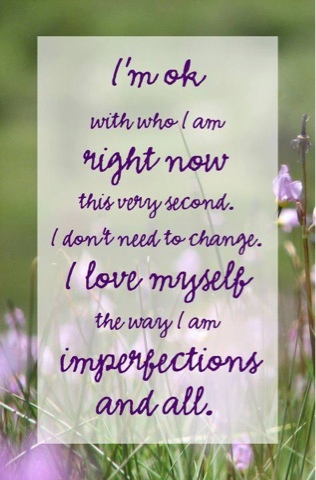
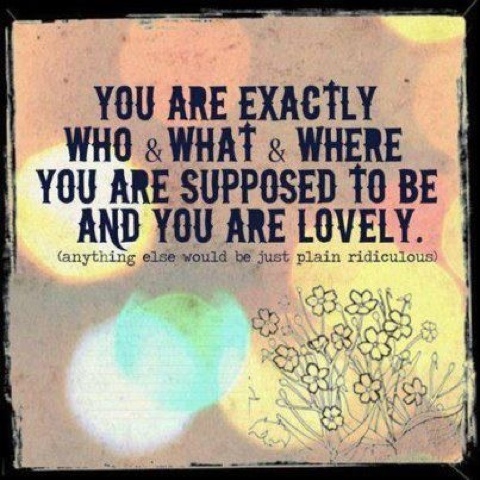
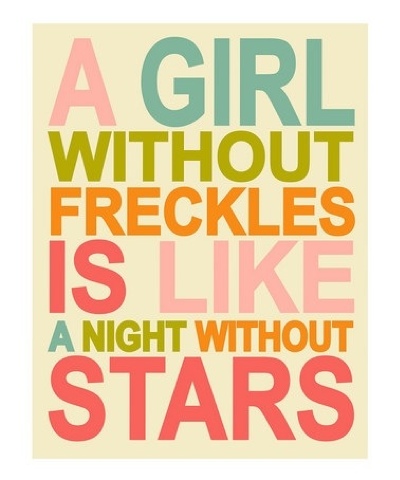
Stuff to make you feel wonderful! :)

Good morning to all my beautiful followers! :)

This morning I'm feeling like I should spread more joy. I know it's just a simple little thing but I'm posting a bunch of quote/pictures that make me smile even when I'm down so I hope it'll help everyone else too!

I'm actually posting this from my iPhone right now because the computer I like isn't really working and the computer that is working is harder to work on so I thought a quick post from phone would be fun! ;p haha.

Well I hope everyone enjoys these and I will do a lot more makeup posts soon!! Just going for a trip to visit family today or tomorrow so there might be a little break but I'll be back with lots more looks soon! :)

P.s. The picture of the cats is mine, just thought it would be nice to send some love from them too!


Friday, July 27, 2012

Step by step smokey golden eyes with Motives

Here is my step by step guide to smokey golden eyes with Motives cosmetics :)


1) It's always best to start with a thin layer of eyeshadow primer all over the lid from lash line to eyebrow and a thin line under lower lash line. Next I put the medium shade, Motives eyeshadow in Pink gold, up into the crease a little higher to make the eyes appear larger. Also put a thin line under the eye from just inside inner corner to just inside outer corner (other shadows will fill in the inner and outer corner).

2) I put the dark shade, Motives eyeshadow in Hazelnut, a bit above the crease to keep the eye looking larger.

3) To make sure the eyes don’t look droopy, never let the shadow go past the line you see in picture 3. In the picture I have the brush past the line just so you can see the line better. Place a brush on side of nose and up to outer corner of eye, just a little past outer corner so you can connect a thin line of the dark shadow on bottom outer corner to the outer corner of crease. If needed, blend a bit more of the medium shade to where the dark shade starts under the eye.

4) With a blender brush put the highlight, Motives eyeshadow in Creme fresh, under the eyebrow and make sure it is blended well with the dark shadow. If it looks too harsh of a line and doesn't look blended well enough you can blend a bit of the medium shade where the highlight and dark meet, to make it look smoother and add a tiny bit more color. For this look I blended a lighter gold, Motives eyeshadow in Whipped cream, between highlight and dark. Also I used the lighter gold to blend the highlight on inner corner with the medium.

5) For the eyeliner, Motives Gel liner in Onyx, I used an angled liner brush to make a thin line from inner corner to just past pupil and then gradually make line thicker and slanted up. Where the shadow ends is a good guide to where the liner should slant up and end. Next, with a small angled shadow brush, put black shadow on and just on edge of gel liner to set it in place so it wont budge all day and to give it a smokier look. Also to make the look a little darker I blended a bit of that black shadow with the angle brush under outer corner. If you wanted to make it more dramatic you could also put a waterproof liner in waterline of eye, upper and lower. After liner I curl my lashes and put on lots of mascara, top and bottom! To make eyes even bigger I usually put fake lashes on outer third of eye, this makes the outer corner look more lifted and gives a cat eye effect. Didn’t put any on this time but usually do!

6) For the rest of the look I made sure to keep all of my makeup in warmer tones so that nothing will clash. It's always best to keep all of your makeup in the same color tones, if you mix warm and cool together it can make your makeup look way over done and not fitting together. Sometimes fun looks can be made with mixing colors but usually just for crazy night looks. :)


List of makeup used:

Eyes:
  • Medium shadow -Motives Pink gold + Motives Whipped cream
  • Highlight shadow -Motives Creme fresh + Motives Whipped cream
  • Dark shadow -Motives Hazelnut
  • Liner -Motives Gel liner Onyx + Motives Onyx shadow
  • Mascara -Motives mascara plus a couple other types (I layer a couple different mascaras most of the time) 
Face:
  • Primer -Motives Perfecting face primer
  •  Foundation -Motives Dual Perfection pressed powder -Neutral
  • Bronzer -Motives Miami glow bronze
  • Blush -Motives So Peachy


Thanks for coming to my page and checking out my posts! Please tell your friends and come back more to see lots of new posts coming up! :D 


Monday, July 23, 2012

New Motives Makeup Look!

Finally a new look! Sorry it has taken so long, I will be making new posts a lot more often now! :)


I'm so excited, a friend showed me Motives cosmetics, I've been trying it all out and I love it! I've tried out so many different makeup companies and wow, I can't believe how amazing Motives is. The makeup goes on so much better, stays so much better and feels so much better! Usually I have a couple favorites from different brands but now I'm pretty sure almost all my favorites are Motives! I'm very impressed with how great Motives is so I wanted to share some great new looks with all of my followers! If you aren't a follower yet, please follow :D
  
This smokey purple look is great for making green eyes really stand out but any other eye colour can still rock this look! ;)


 For the eyes I started out with the Motives eye shadow primer all over the eyelid and a thin line under the eye. A good eye shadow primer will make sure it will stay in place all day without creasing or fading away and it will make the colour show up much better.


 Here are the Motives products used on the eyes:
 • Medium shadow - Pink diamond
• Dark shadow - Sweet plum
• Highlight shadow - Creme fresh. (White liner on inner corner first)
• Motives gel liner - Little black dress, with Onyx shadow on liner to set it and on edge of liner to soften the line and make it look smoother.
• Motives Lustrafy high definition mascara - Onyx (Lots of mascara!)

Here are the rest of the Motives products used:
• Foundation - Dual Perfection pressed powder - Neutral
• Bronzer - Miami glow bronze
• Blush - Shooting star


The only product I used that wasn't Motives is Garnier skin renew B.B. cream in Light/medium. I have recently started using this cream as a primer and I love it! I put a thin layer on all over my face and neck before I put any of my makeup on. It helps so much to even out my skin tone and make my skin kinda glow, but not fake looking.
 I really hope everyone loves this look and I hope you'll all try it out :)


LinkWithin

Related Posts Plugin for WordPress, Blogger...