Pages

Friday, January 2, 2015

Natural smoky eye shadow, lighter and darker look, with lots of makeup tips! plus all the makeup used :)

 
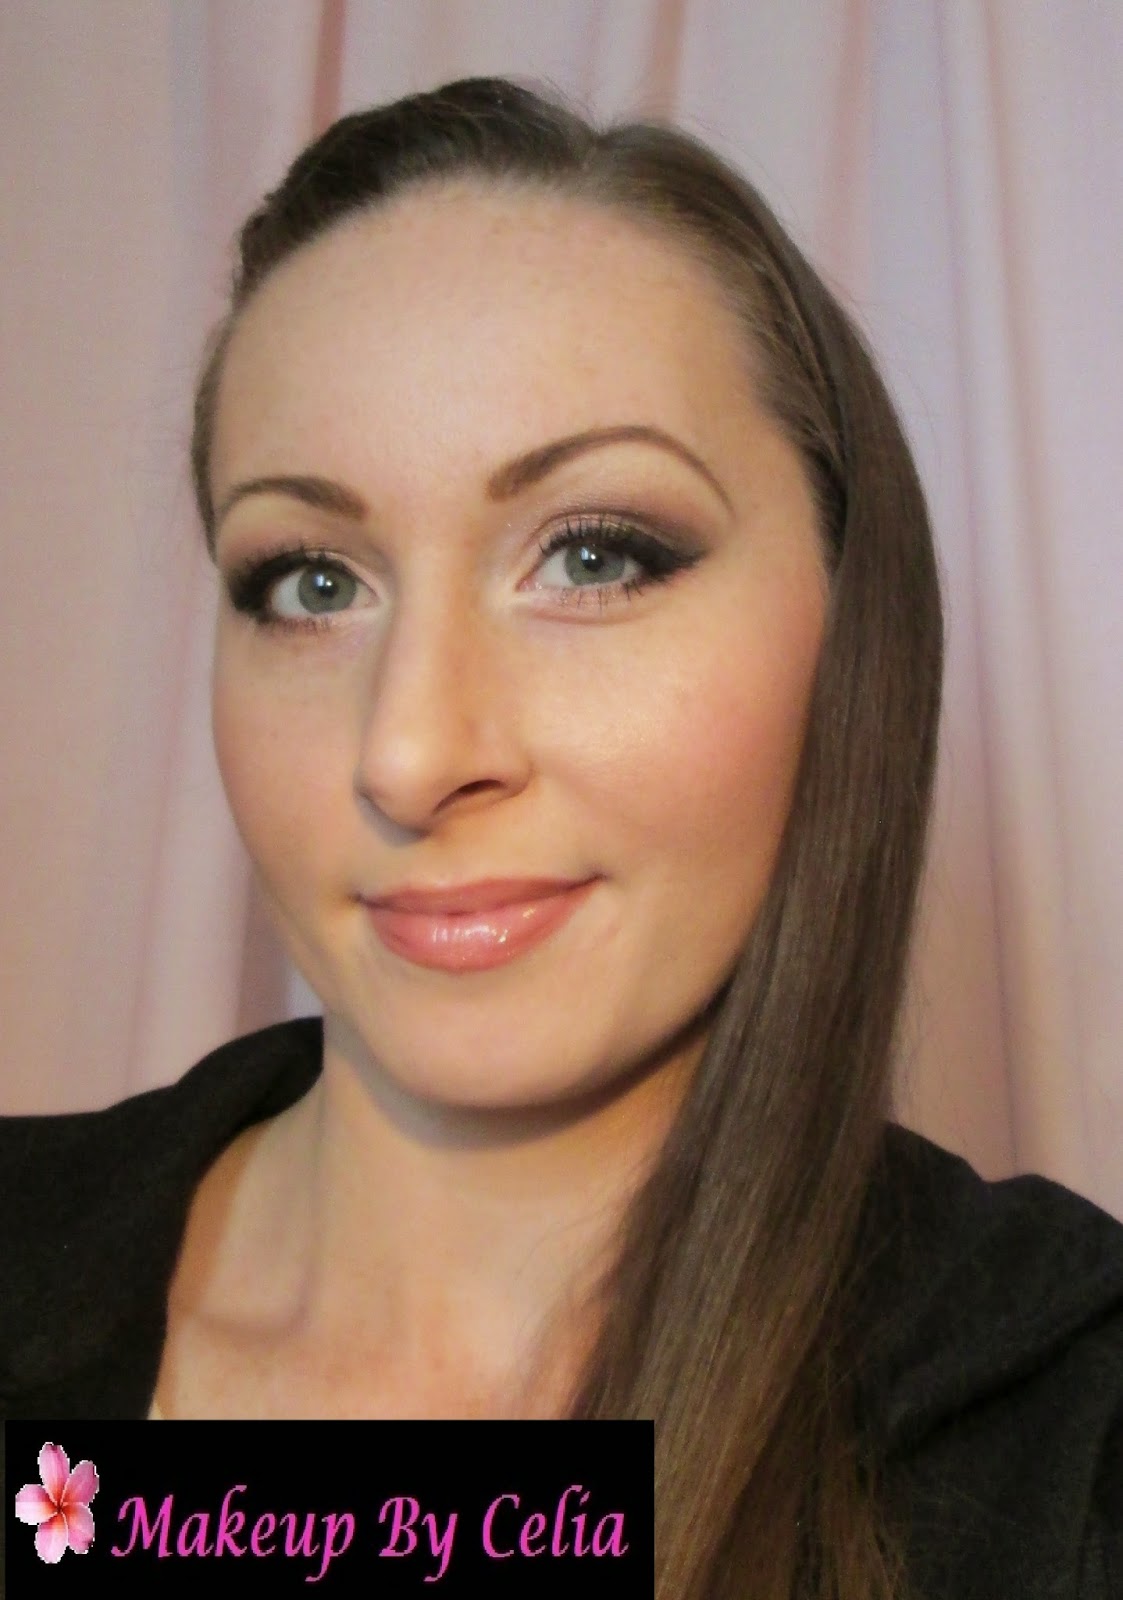
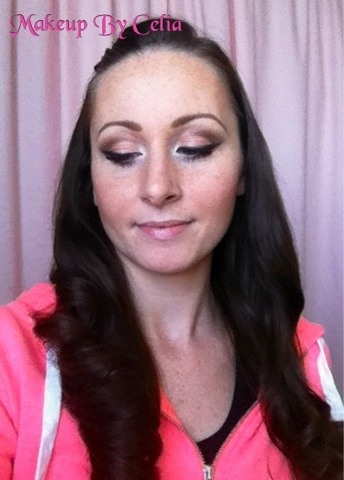
Here is a natural brown smoky eye makeup look that is very easy to do. I think most women would like this look for going out in the evening but I like it for day and going out at night. You can also do a lighter version of this for day and then make it a little darker before going out.
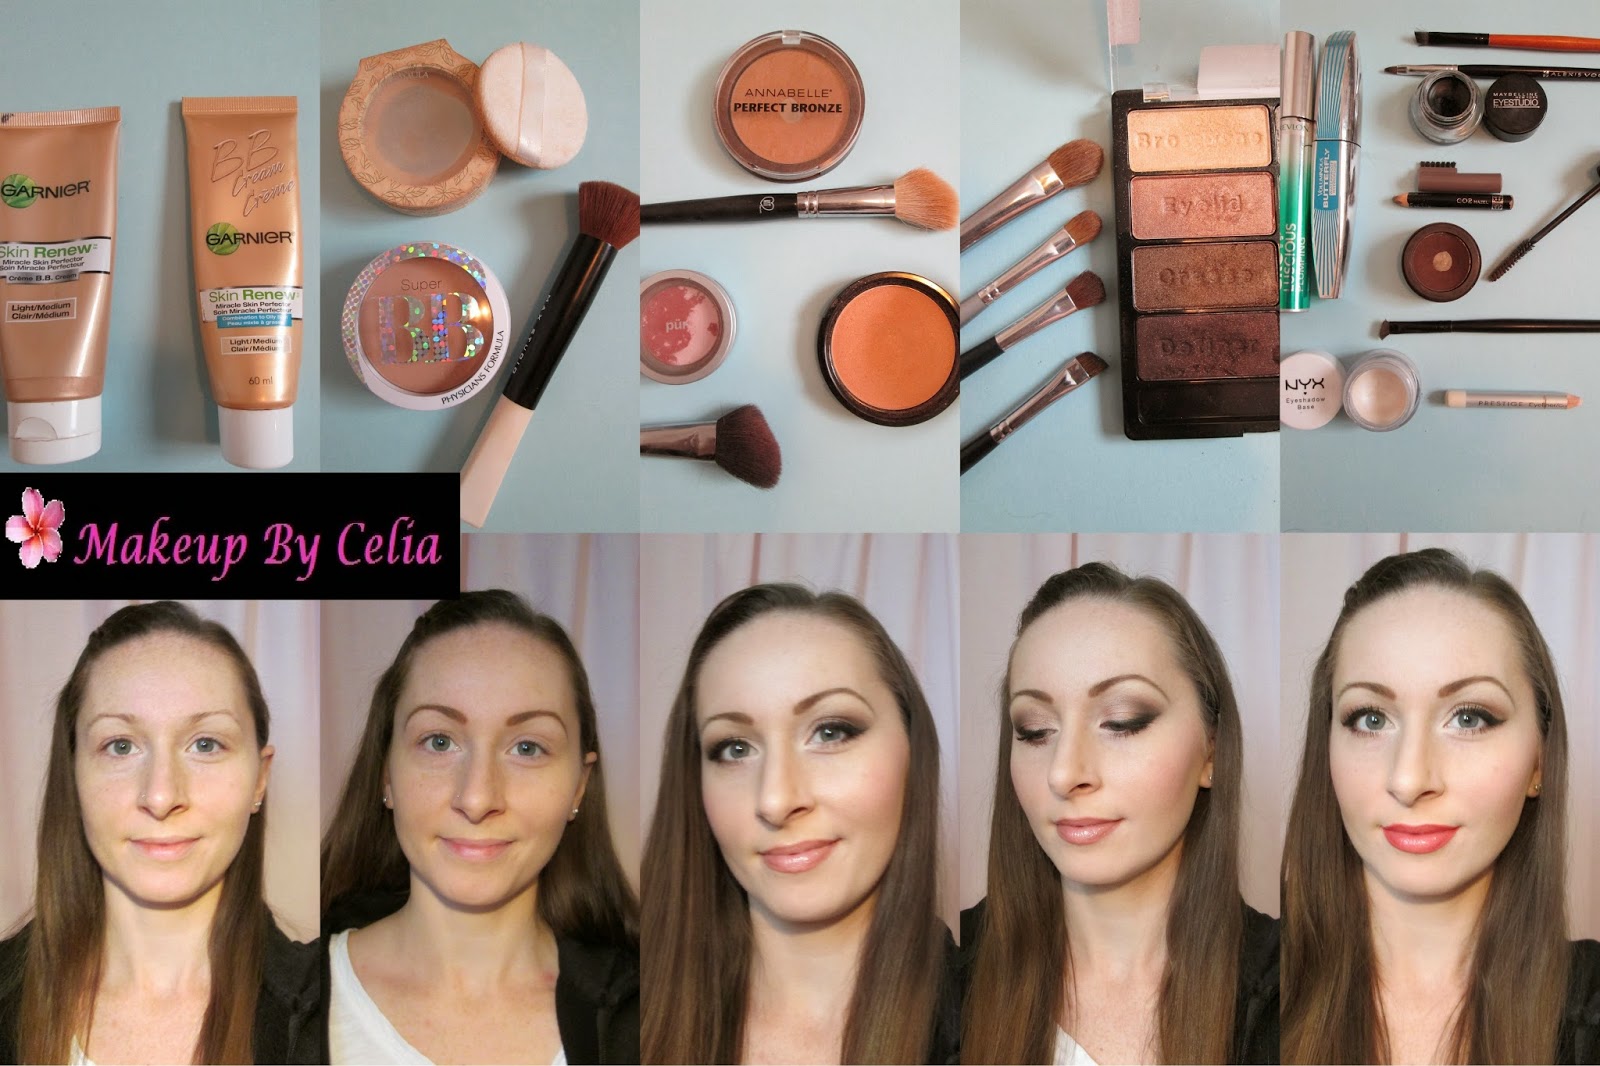
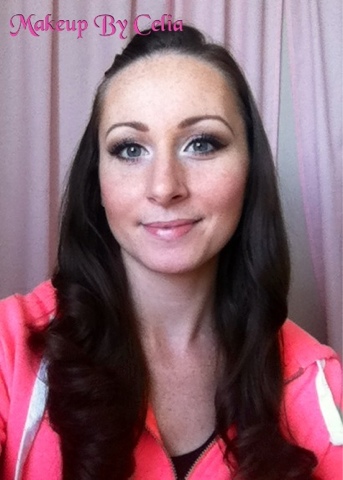
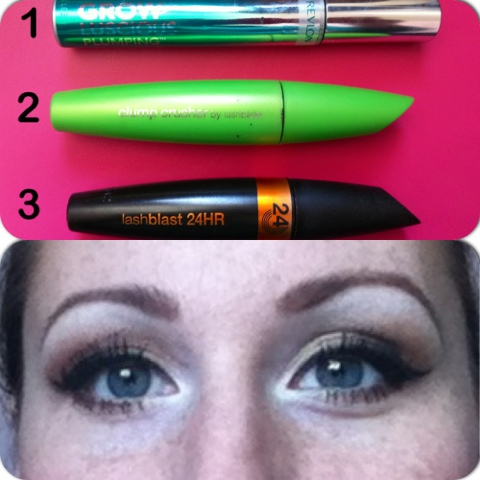
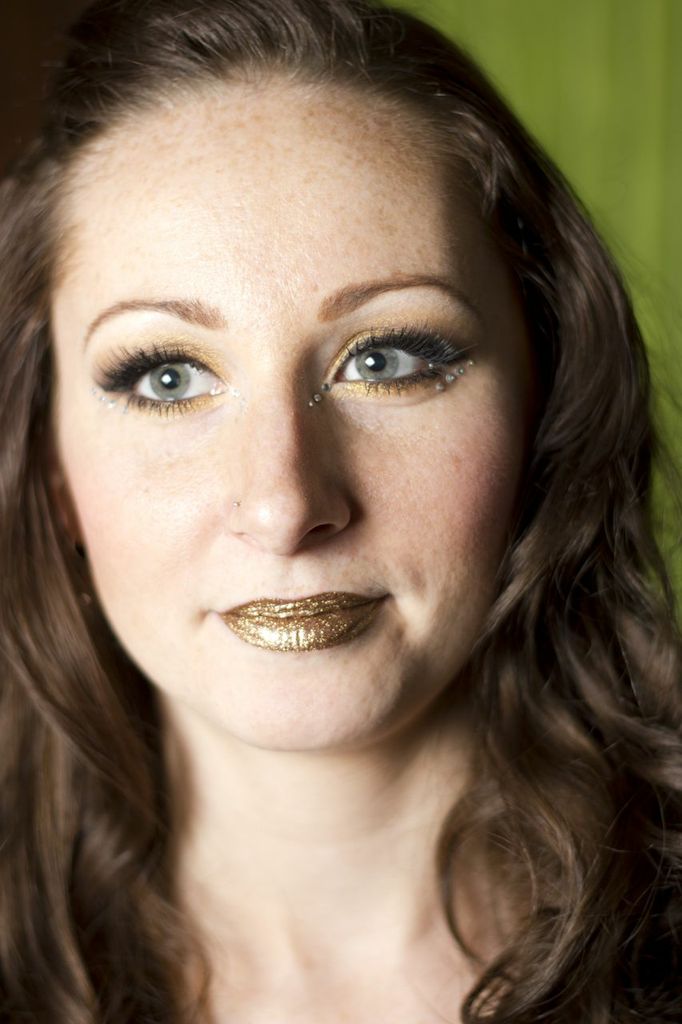
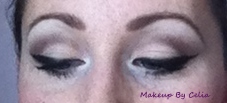
In the pictures in the collage below I have the makeup I used and a couple pictures of the steps along the way. The first face picture below I have no makeup on at all to show the difference the makeup can make. In the second one I have the BB cream, some pressed powder on my brows/eyes, and my eyebrows filled in. The third and fourth pictures are of the final look with eyes a little darker and lips in a lighter, more natural shade. The fifth picture is of the eyes a bit lighter with darker, more bold lips. In the last three pictures, the makeup on my face is fully done with foundation powder, bronzer, blush and highlight.
Below the collage I will list the makeup I used, most is in pictures in the collage as well.


Face
*B.B. Cream- Garnier, Skin Renew B.B. Cream -light/medium (In the summer I use the one for combination/oily skin because skin gets oilier and in the winter I use the normal one because it really helps my dry winter skin)
*Pressed powder- Physicians Formula, pressed powder -Translucent medium
*Powder foundation- Physicians Formula, Super B.B. foundation powder -light/medium (love this instead of liquid or cream foundation, it feels so much lighter on the skin)
*Bronzer- Annabelle, Perfect Bronzer -Sun kissed
*Blush- Pur, Marble powder -Pink
*Highlight- NYX, Illuminator -Narcissistic (on top of cheekbone, right above blush and bronzer, to bring out cheekbone more)
Eyes
*Eye shadow base- NYX -esb02 (so important to use an eye shadow base because eye shadow will show up way more and stay in place way longer)
*Eye shadows- Wet n Wild, 738 comfort zone(set with 8 shadows, only used the left side)
       -Medium shade, second eye shadow down in picture (on inner three quarters of eyelid, just up to the crease and under bottom lashes on inner half of the eye. leave room on inner corner and outer corner on the bottom)
      -Dark shade, third eye shadow down in picture (on outer corner of eye top and bottom, and shading in the crease.)
      -Highlight, Prestige liner -white, on inner corner of eye with top shadow in picture softening the line. Top eye shadow in picture is also blended under brow into the top of dark shadow so there isn't a harsh exact line of dark shadow. Another trick to make that line blended more is to blend a bit of the medium shade in there too, not too much but just a bit to soften the dark and highlight together more.
       -Darker shade, bottom eye shadow in picture. when a more dramatic darker look is wanted you can put some of this even darker shade on outer corner and crease and it will intensify the look. Make sure to blend this in well, if it seems too harsh and not blending well you might have to blend the edges with the lighter dark shade a little(I had to do that a bit for this look).  
*Liner- Maybelline, Eyestudio gel liner -blackest black. After putting on the gel liner with a liner brush, put a black eye shadow on top and on edge of liner, slightly, with a small angle brush to soften the edge, make it look more even, and to set it so it stays in place better.
*Mascara- first I use Revlon Grow Luscious Plumping -blackest black, top and bottom, then I like to use L'Oreal Voluminous Butterfly -blackest black, waterproof. I find that using a non-waterproof mascara first helps lashes to not dry out so bad and then using the waterproof on top helps to keep it curled longer and helps it stay better.
*Brows- Rimmel brow pencil -hazel, then Ardell brow powder -Mink brown. After pencil and powder, use a brow brush(or old mascara wand washed out very well) to soften the line and make sure it doesn't look too harsh and fake.
Lips
*Lighter lips- lighter more natural lip liner with NYX Megashine gloss -sugarpie
*Bold lips- brighter more bold reddish pink lip liner with NYX Megashine gloss -natural
On both looks I used a bit of the Illuminator(used on cheeks) and Victorias Secret beauty rush lip gloss -Crème femme in the middle of lips to make them look more plump.
 
I put the brushes I used with the products I used them with in the pictures so I hope that'll be easy to figure out. If anyone has any questions about this post, just send me a message and I will try to get back to you soon! :)


Saturday, April 19, 2014

Coconut oil ~Favorite natural product ever! SO many awesome uses :)

 
Hello again, Finally!
I'm so sorry it took me so long to get back on here!
Now that my computer is working great again and I got a new camera I'll finally be making more posts on here. :)
 
For my first post back I'll let you all know my very favorite eye makeup remover/night face moisturizer/body moisturizer/bath oil/massage oil/deodorant/moisturizing hair oil. I have been using coconut oil to replace so many chemical filled products for over a year now and the more I use it, the more I love it! I keep a smaller container of it in my washroom so I don't have to take that big container upstairs with me at night just to remove makeup, use as moisturizer, etc. Only a small amount is needed for most things so I don't even need to refill it very often.
 
I also use it to replace, or cut down on, butter and other less healthy oils for cooking and it doesn't just make food taste way better, I actually feel healthier. I keep the large container of it in the pantry for this.
 
Here's some tips for getting the best results with coconut oil:
 
* Eye makeup remover -I use waterproof mascara as a top coat and waterproof eyeliner daily so it can be very hard to find a makeup remover that actually works and isn't full of terrible ingredients I've never heard of before. My very favorite is coconut oil and its so easy to use. First I like to rinse my face and eyes with warm water to loosen the makeup, then I put a very small amount on my closed eyes and lightly rub it around my lashes. If I just try to wash it off with warm water after that it usually wont work that well, because of how much mascara I like to use :), so its best if I make a cotton pad damp with warm water(can put a little more coconut oil on pad after you wet it too) and rub my eyes lightly with that after, then I rinse eyes with warm water and work on cleaning the rest of my face with cleanser, dry it and always put toner on with cotton pad after. It may seem like a lot of little steps but its so quick, easy and healthy!
*Face moisturizer -Coconut oil has helped my skin so much in the last year! I have always had pretty sensitive, easily irritated skin that a lot of products just make way worse but coconut oil has fixed a lot of my skin problems. For a face moisturizer I only like to use it at night because it can look a little too oily for me in the day. I just use a small amount on the face and neck after cleanser and toner and it makes my skin feels so amazingly soft. In the morning I will either shower or rinse my face with warm water and use toner and it wont look oily at all during the day but still feels soft and looks more hydrated.
*Body moisturizer -This is pretty easy, not many special tips on how to use it here but anywhere you want to be more moisturized and make your skin healthier, just put coconut oil on it :) I have very dry skin and coconut oil has been to ultimate cure for that. I like to put it on my feet before bed or put it on before putting on cotton socks and I find that has helped me to have much softer, smoother skin. Its also great to put on after shaving legs or just anywhere skin is dry. I find it has also been very helpful for moisturizing my eczema on my hands, for me its been more helpful than prescription eczema cream.
*Massage oil -If you haven't tried coconut oil as a massage oil, you're really missing out! It feels, and smells amazing!! :)
*Bath oil -Coconut oil feels so wonderful to soak in the bath with, I also like to put Epsom salt in the bath and those together make having a bath so much better than just water or using products with lots of unhealthy, fake ingredients. Skin feels extra amazing after a bath like that but make sure tub isn't too slippery after, you really wouldn't want to forget about it and slip in the tub the next day! If it is very slippery, just do a quick scrub with a sponge/cloth and a bit of cleaner after, rinse and you'll be safe later. Totally worth it though :)
*Deodorant -This really shocked me how amazing it works! I have always needed to use clinical strength deodorant, which is not healthy at all, because I find I sweat a little too easily :s My husband says its all in my head, I don't sweat that much, but I get really uncomfortable because I can feel it. I read some things online about coconut oil doing the trick because its antibacterial so I decided to try and it has made such a huge difference. I melt a small amount of coconut oil on my hands by rubbing them together, then put under arms, let it soak in for a bit and then I use a small bit of a light deodorant on top sometimes. Some people can just use the oil and don't need to use any deodorant after but it helps me feel better and a lot less likely to sweat. Make sure it is set into the skin and not really wet anymore before getting dressed because you don't want to risk getting oil stains on clothing, that's why I put it on after the shower or soon after getting up so it can soak in better before I need to get dressed and ready. I find coconut oil wont make oil stains like other oils, it can wash out easier, but I still like to try not to risk it. Also another great way to use it is to mix a bit of baking soda with the coconut oil before putting it on or just rub a small amount of baking soda on after putting coconut oil on, this will help with sweat and smell.
*Moisturizing hair oil -Coconut oil can help dry frizzy hair a lot, just be very careful not to over do it, then it can just look greasy. My favorite ways to use it are either as a pre-treatment or like a leave in conditioner/shine treatment. For a pre treatment I will put a small amount in hair, mainly on ends, never on roots, then put hair in bun on top of my head and let sit overnight while I sleep or while I do things around the house. When I wash it out I make sure to wash it very well so it wont look greasy and then use my regular conditioner. It does make a big different for me with frizz! Also, for a leave in shine treatment you can put a VERY SMALL amount on hands and put on ends mainly and a bit through the middle but NOT ever on roots. Haha I had to put those words in capitals because its very important not to put on roots or too much through hair because of greasiness :p It really sucks when you make hair look overly greasy and need to either deal with it or shower again. If you put on a nice small amount though it can make hair look and feel so much healthier and shinier! :)
 
I hope all of my lovely followers learn some new tips they love from this post and let me know about any other great uses for coconut oil. I know there are sooooo much other uses but these are my favorite ones, Enjoy!


If anyone is wondering where to get good coconut oil at a good price, I get mine at Costco. You get way more for a much better price :)

Friday, June 7, 2013

Cute kitties :)

Sorry it has been so long! Now that my computer is fixed I planned to do a lot more posts but my camera broke a little
while ago too :( I've been doing some posts from my IPhone but I don't like the pictures as much, so I haven't really been doing as much as I planned. I will get a new camera very soon though! Until then I will do a bit more with my IPhone I guess, good thing this phone is so handy!! :) 

Here's a couple cute pics of Biggie and Coco to make everyone smile :D 
Coco crawled in Jons sock drawer and Biggie tried but he just couldnt fit, hehe 
Coco and Biggie cuddles :)

Saturday, April 27, 2013

Look of the day :)

Here is my look of the day with a list of makeup used :)

Eyes:
•Eyeshadow base - Essence-I<3stage eyeshadow base
•Medium shadow - NYX-69 orange
•Dark shadow - Covergirl-740 brown smolder
•Highlight shadow - white pencil liner on inner corner with Almay-mother of pearl shadow on top of liner and under the brow.
•Liner - Loreal Infallible 24hr liner-blackest black. I put a black eyeshadow on top of creme liner to help it stay in place even better and to soften the edge a bit.
•Mascaras - Revlon-grow luscious plumping + Covergirl-clump crusher + Covergirl-lashblast 24hr waterproof (all in blackest black)
•Brows - Rimmel-02 hazel brow pencil + Ardell-brow defining powder Mink brown

Face:
•B.B. cream -Garnier skin renew-light/medium
•foundation -The Body Shop-All In One face base 05
•Bronzer - N.Y.C sun 2 sun bronzing powder Terracotta tan (only used the light side because my skin is very light right now. In the summer I usually use the darker side.)
•Blush - Covergirl-contouring blush Purely plum

Lips:
•Lancôme L'absolu Nu lipstick


Tuesday, April 23, 2013

How to make lashes look bold without false lashes!

I'm always asked what I do to make my lashes look longer and fuller so here's how I do my mascara every day :)

1) I use an eyelash curler at the roots and half way up lashes first and then use my first mascara, it's best if it has a growth serum in it.
2) Next, wait about a minute or two and then use a second mascara to build more volume and length. Make sure the second mascara is good at separating lashes and not clumping.
3) For the last mascara I like to use waterproof so it will stay on better and hold the curl better. Since its not right on my lashes I dont find that it dries out my lashes like waterproof mascara on bare lashes. I also like to make sure this mascara is good at separating lashes and not clumping. This can be the final step or if you want lashes to stand out even more, just one more step.
4) When lashes are FULLY dried, use the eyelash curler again. Just do not do it if lashes might still be a little wet though because the lashes might stick to curler and get torn out :( If lashes are fully dry though, it will curl them so much more and will stay so much longer! I would wait at least half an hour, just to be safe, or do it later when you want your eyes to look more awake. :)

Since using waterproof mascara you will need to use a good eye makeup remover. There are a couple different ones that I've used and liked but the one I like most is the Oil-free eye make-up remover from Neutrogena(purple/blue see through bottle).

Here are the mascaras I've been using for a while and really like:
1) Grow luscious plumping -Revlon (black)
2) Clump crusher by lashblast -Covergirl (very black)
3) Lashblast 24hr -Covergirl (very black) waterproof

Hope you all try this to help your lashes stand out more!

Monday, April 22, 2013

Dramatic makeup for photography

 
 Here are some pictures from my friend Lisa. :) She is a wonderful photographer and asked me to do dramatic makeup for a photo shoot and here are a couple of the face pictures. I will post some of the other pictures after this. :)

Lisa is an amazing photographer with so many great ideas! If anyone in the Airdrie or Calgary area would like more info about Lisa's photography, go to https://www.facebook.com/EyeDesignStudios or www.eyedesignstudios.ca.


Friday, March 15, 2013

My two favorite products! Plus a lighter smokey/defined crease look :)


 Here is another lighter smokey look with two new products I'll never go without! In these pics of my makeup I used both and makeup stayed allll day.

The Garnier Skin Renew B.B. Cream is amazing! I've been using it for a few months now and it's the best skin primer/moisturizer. I love it because it evens out skin tone so well and you dont need to wear much foundation with it. I just use this with a loose powder on top to keep my skin matte and to make my skin look more even. Even if you dont use foundation I think this would be great just as a morning moisturizer. Picture below.


Stay Dont Stray by Benefit is wonderful too! I just got this one about a week ago and I am so impressed with it. It is an eye primer that also works great as an under eye concealer. I have used a lot of other eye primers and this one is my favorite because of how well it makes your eye makeup really stay and how the color of it doesnt interfere with with your eyeshadows and change their color(I've had some primers that did that in the past). I also love how great of an under eye concealer it is! Just make sure to blend it out well and put powder on top. Picture below.


 P.S. Sorry about the messy hair in the pics, it just wasn't working out!

Hope everyone will try these out and love them! :D

LinkWithin

Related Posts Plugin for WordPress, Blogger...